First, pin the crown to the top of the hat. I had to recut (and iron!) the top piece a few times to get one that fits. Tack and sew (backstitch).
Pin...

... tack and backstitch the front flap and then the visor.
Pin, tack and backstitch the back flap. The red's the tacking.

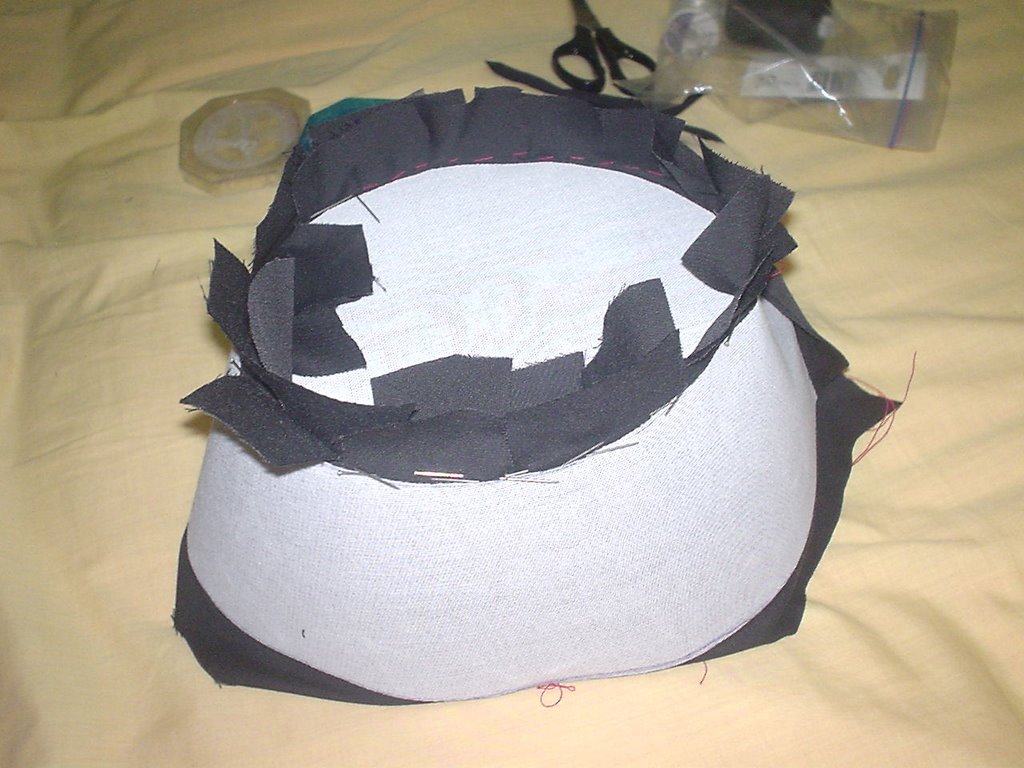
Soon, you're left with doggy ears at the rim of the hat!

Tack the multi-edge fabric pieces together, and iron it to the inner side of the hat using the iron-on.
Whola.

Time taken: too long! :)
No comments:
Post a Comment