(Apologies for the interchanging use of present and past tense. The past tense doesn't work that well when you're using the irregular imperative.)
Note: I found that when it comes to ironing stuff, trial runs are important. I didn't start the actual work until I was comfortable and satisfied with the results of the trials.
Part 2a: A rummage through the cloth bin and some lateral chats led me to decide on the two main scaffolding required for the job: cotton cloth (black, of course) and stiff iron interfacing (also known as collar 'cloth'... more like soft plastic webbing). It is important to find a cloth where the 'right' and 'wrong' side looks identical, if you can't be bothered to keep track of which is the right side and which is the wrong side, like me.
Cut out pieces from the interfacing, using the paper templates as guide. Make the curve edges as accurate as possible. Cut out cloth pieces very approximately, leaving a lot of room for seams and plain random allowances.
Part 2b: Time to iron stuff! This is an important step as it'd involve stiffening the 'right' or 'eyeball' side of the hat, so it's important for the pieces to look good.
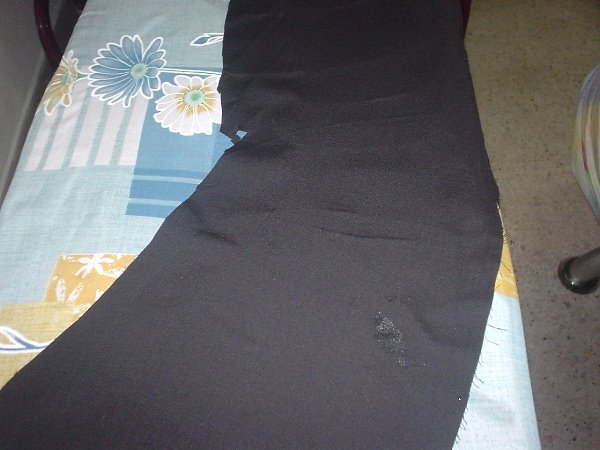
Put the shiny (glue) side of the interfacing onto the cloth. Heat the iron to about three dots (you know that symbol on the iron?). Place the iron (no, water/steam unnecessary) onto the interfacing and press. The pressing doesn't have to be too hard... just enough for the interfacing to stick onto the cloth. A count of ten should be sufficient. Move the iron around if the piece in question is larger than the iron's useful surface area (duh).
When the sticking-by-heat was done, I turned the piece over. Egad! Puckering on the outward-facing surface! Looked bad! But luckily, I realised that this could be solved by sprinkling some water onto the surface and iron as you would a sleeve cuff: it's not called 'collar cloth' for nothing! It straightened out.
Very soon, the five component pieces of the hat were ready.

Part 2c: The Finished edges. There are three raw edges which are 'exposed' to the eyeball: these are the top edge of each of the two flaps, and the lower edge of the visor. The rest of the edges are used as connecting seams. I faced a challenge here: how could I make these edges neat and presentable? I could hand-stitch the cloth to the interfacing, but I didn't fancy sewing through the thick interfacing, and my hand-stiching is uneven at best. I could fold the seam allowance onto the wrong side and hot glue it steady, but I didn't fancy getting hot glue on my fingers. The choice, then, was obvious: enter the iron-on glue web. I don't know its industry name. This is a translucent gauze-like thing that is used primarily for hemming (using an iron!).
Part 2d: As the raw edges are gently curved, it became necessary to introduce cuts in the seam allowance to allow the folded seam allowance to overlap and sit flat on the interfacing. I made the cuts perpendicular to the interfacing's perimeter, making sure never to cut the seam allowance all the way to the interfacing. Left about 1-2mm of cloth uncut so that the termination of the cut could be folded behind and hidden from view. The cuts were spaced about 1cm apart, which at this curvature was sufficient for the seam allowance to wrap around behind the interfacing nicely.
Part 2e: Next step: iron! I used a thin strip of brown gabardine material left over from the construction of my cloak as cover cloth. Place the assembly so that the interfacing side faces upwards. Fold each of the 1cm wide cloth strips inwards individually - make sure the fold goes right over the edge of the interfacing. Slide a piece of similar-sized web between the cloth strip and the interfacing. Cover with damp cloth, and press down with iron. I'd suggest holding down one end of the strip when pressing down using iron's wide side (not the point!) on the assembly. Be careful where the iron lands - and be wary of how much pressure you're exerting. It is easy to deform the interfacing due to all the iron pressing. Patience! Patience!
When all is done, once more, turn the assembly over so that the right side faces up. Iron dry. This should straighten out the puckered piece of interfacing.
Time taken for drafting, cutting, trial iron and actual ironing: about 4 hours
No comments:
Post a Comment